
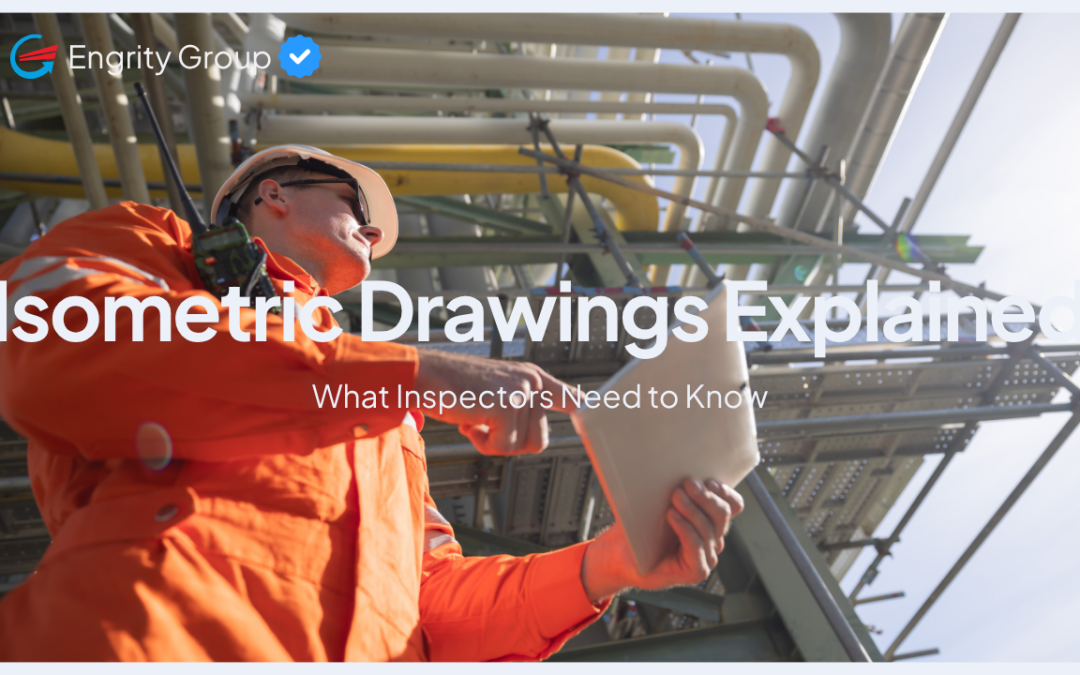
Piping Isometric Drawings: A Complete Guide for QA/QC Inspectors, Engineers and Fabricators
Hello Everyone!
Piping systems are a critical part of industrial facilities, including oil and gas plants, LNG facilities, petrochemical plants, power generation facilities, mining operations, and manufacturing facilities. Before piping can be fabricated, installed, inspected, and commissioned, project teams need accurate engineering drawings that clearly communicate how the piping system is intended to be built.
One of the most important drawings used for this purpose is the piping isometric drawing, commonly referred to as a piping ISO or simply an ISO.
For QA/QC inspectors, welding inspectors, engineers, fabricators, pipefitters, and construction professionals, understanding how to read an isometric drawing is an important technical skill.
This guide explains what a piping isometric drawing is, what information it contains, how it is used during construction and inspection, and how it differs from a P&ID.
What Is a Piping Isometric Drawing?
A piping isometric drawing is a technical drawing that represents a three-dimensional piping system on a two-dimensional sheet.
Unlike a typical plan or elevation drawing, an isometric drawing provides a more detailed representation of the physical arrangement of piping. It shows the routing of pipes, fittings, valves, flanges, welds, supports, dimensions, elevations, and other components required to fabricate and install the piping system.
The word isometric refers to the method used to represent three-dimensional objects on a two-dimensional drawing.
Although the drawing is shown on a flat sheet, the piping arrangement can be visualized in three dimensions.
For construction and inspection personnel, this makes the piping ISO an extremely useful reference document.
What Information Does a Piping Isometric Drawing Contain?
The exact content of an isometric drawing varies depending on the project, engineering company, client requirements, and applicable codes and specifications.
However, most piping isometrics contain several key categories of information.
1. Pipe Routing
One of the primary purposes of an isometric drawing is to show the physical routing of the piping.
The drawing can indicate:
- Direction of the pipe
- Changes in elevation
- Horizontal and vertical runs
- Branch connections
- Pipe offsets
- Connections to equipment
- Connections to other piping systems
This allows fabricators and installers to understand how the piping should physically be arranged.
2. Pipe Size
The ISO identifies the size of the piping being installed.
Depending on the project drawing standard, pipe sizes may be identified using terms such as:
- NPS – Nominal Pipe Size
- DN – Nominal Diameter
For example, an ISO may identify piping as:
NPS 6
or
DN 150
Pipe size is important because it affects the selection of fittings, flanges, valves, supports, welding requirements, and other components.
3. Line Number
Industrial piping systems are normally assigned line numbers.
A line number provides information that allows project personnel to identify and trace a specific piping system.
A line number may contain information related to:
- Pipe size
- Service
- Material specification
- Insulation
- Pressure class
- Process system
- Project identification
The exact format depends on the project’s engineering standards.
Inspectors frequently use line numbers when reviewing inspection documentation and tracing piping components.
4. Pipe Specifications and Material Classes
Isometric drawings may reference a piping material specification or piping class.
The specification can identify the required materials and components for the piping system.
This can include requirements for:
- Pipe material
- Fittings
- Flanges
- Valves
- Gaskets
- Bolting
- Branch connections
- Welding requirements
For QA/QC personnel, material identification is particularly important because installed components must match the approved project requirements.
5. Dimensions
Dimensions are one of the most important features of a piping ISO.
Dimensions may identify:
- Pipe lengths
- Center-to-center dimensions
- Fitting locations
- Equipment connection points
- Branch locations
- Elevations
- Offsets
- Coordinates
During fabrication and installation, these dimensions help ensure that the piping is constructed in accordance with the approved design.
Inspectors may use these dimensions during field verification.
6. Elevations and Coordinates
Industrial piping frequently needs to pass through different elevations.
An isometric drawing can provide elevation information that allows construction personnel to determine the vertical position of piping.
This becomes particularly important when piping must:
- Connect to equipment nozzles
- Pass over or under other piping
- Maintain required clearances
- Connect between different elevations
- Follow structural or equipment constraints
Incorrect elevation can result in significant installation problems.
7. Valves
Valves are commonly shown on piping isometric drawings.
Depending on the drawing standard, the ISO may identify:
- Valve type
- Valve number
- Valve size
- Valve rating
- Valve location
- Flow direction
Examples of valves commonly encountered in industrial piping include:
- Gate valves
- Globe valves
- Check valves
- Ball valves
- Butterfly valves
- Control valves
Inspectors and construction personnel can use the ISO to verify that the correct valve has been installed at the specified location.
8. Fittings
Piping systems contain many different types of fittings.
An ISO may show:
- Elbows
- Tees
- Reducers
- Caps
- Couplings
- Branch connections
- Flanges
- Weldolets
- Sockolets
- Thredolets
Fittings are important because they determine how the piping system changes direction, branches, terminates, or connects to other components.
9. Flanges
Flanged connections are commonly identified on piping isometrics.
The drawing may provide information about:
- Flange size
- Flange rating
- Flange type
- Connection location
- Gasket requirements
- Bolting requirements
Depending on the project, additional information may be provided through material specifications or piping classes.
10. Weld Locations and Weld Identification
Welds are particularly important for welding inspectors and QA/QC personnel.
Piping isometrics may identify weld locations using unique weld numbers or joint identification numbers.
For example:
- W-001
- W-002
- W-003
The exact identification system varies by project.
These weld numbers can be used to connect the physical weld to inspection and quality documentation.
A weld may be associated with records such as:
- Visual inspection reports
- NDT reports
- Welder identification
- Weld maps
- Weld inspection records
- Repair records
- Heat treatment records
- Material traceability documentation
This makes the piping ISO an important part of the project’s overall quality documentation system.
How QA/QC Inspectors Use Piping Isometric Drawings
For QA/QC inspectors, an isometric drawing is much more than a drawing showing pipe routing.
It can serve as an inspection reference throughout fabrication, construction, installation, and testing.
Inspectors may use an ISO to verify:
Weld Locations
Inspectors can identify where welds are expected and compare the drawing against the actual fabricated piping.
Weld Numbers
Weld identification can be tracked from the drawing to inspection reports and other quality documentation.
Materials
The inspector can compare installed materials and components against the applicable piping specification.
Dimensions
Field measurements can be compared against the dimensions shown on the drawing.
Pipe Routing
The actual pipe configuration can be checked against the approved design.
Fittings and Valves
Inspectors can verify that the correct components are installed at the correct locations.
Supports
Pipe support locations can be checked against the drawing and applicable support details.
Equipment Connections
Inspectors can verify that piping connections correspond with the intended equipment and nozzle locations.
Piping Isometrics and Weld Tracking
One of the most important applications of piping isometrics in QA/QC is weld tracking.
A project may contain hundreds or thousands of piping welds.
Without a structured identification system, tracking these welds would become extremely difficult.
An isometric drawing can provide a visual reference for the location and identification of individual welds.
A project quality team may track information such as:
| Weld ID | Welder ID | Material | NDT Method | Result |
|---|---|---|---|---|
| W-001 | WP-101 | CS | VT + MT | Accept |
| W-002 | WP-105 | SS | VT + PT | Accept |
| W-003 | WP-101 | CS | VT + RT | Accept |
The exact inspection requirements depend on the project’s specifications, applicable codes, and client requirements.
How Isometric Drawings Support NDT
Piping isometrics can also be used to support Non-Destructive Testing (NDT) activities.
Depending on the project requirements, welds may require NDT such as:
- Visual Testing (VT)
- Magnetic Particle Testing (MT/MPI)
- Liquid Penetrant Testing (PT/LPI)
- Ultrasonic Testing (UT)
- Radiographic Testing (RT)
- Phased Array Ultrasonic Testing (PAUT)
- Other specialized examination methods
The ISO can help the inspection team identify the welds requiring examination and maintain traceability between the physical weld and the NDT report.
For example, an NDT report may reference a weld number that corresponds directly to the weld identification shown on the piping ISO.
This helps create a traceable quality record.
What Is a Piping Spool?
A piping spool is a prefabricated section of piping that is manufactured before being transported to the construction site for installation.
Isometric drawings are commonly used to fabricate piping spools.
A spool may include:
- Pipe sections
- Elbows
- Tees
- Flanges
- Branch connections
- Valves
- Welds
- Other components
The isometric provides the information required to manufacture the spool according to the design.
After fabrication, the spool can be inspected, documented, transported, and installed at the project site.
Piping Isometric Drawings During Fabrication
During fabrication, the ISO can be used as a primary reference document.
Fabricators may use it to determine:
- Which materials are required
- Pipe cutting dimensions
- Fitting locations
- Weld locations
- Flange orientation
- Branch locations
- Component identification
- Spool configuration
QA/QC personnel can then inspect the fabricated spool against the approved drawing.
Piping Isometric Drawings During Installation
Once piping reaches the construction site, the installation team uses the ISO to determine where each spool and component belongs.
The drawing helps workers understand:
- Where the spool is installed
- How it connects to other spools
- Which direction the piping runs
- Where valves are located
- Where supports are installed
- How piping connects to equipment
This helps reduce installation errors and improves coordination between engineering, construction, and quality teams.
Piping Isometric Drawings and P&IDs
One of the most common questions among new inspectors is:
What is the difference between a P&ID and an isometric drawing?
Both are important, but they serve different purposes.
P&ID – Piping and Instrumentation Diagram
A Piping and Instrumentation Diagram (P&ID) primarily communicates the process and control relationships within a system.
It can show:
- Equipment
- Piping systems
- Valves
- Instruments
- Control loops
- Process connections
- Flow relationships
The P&ID helps personnel understand how the process works.
Piping Isometric
A piping ISO focuses more on the physical arrangement and construction of piping.
It can show:
- Pipe routing
- Dimensions
- Elevations
- Fittings
- Flanges
- Welds
- Supports
- Component identification
- Fabrication information
The ISO helps personnel understand how the piping is physically built and installed.
Simple way to remember:
P&ID = How the process works
Isometric = How the piping is physically built
Both drawings are important, and inspectors may need to reference both during a project.
Isometric vs Plan and Elevation Drawings
Another important distinction is between an isometric drawing and traditional plan/elevation drawings.
Plan Drawing
A plan view generally represents the system as viewed from above.
It is useful for understanding horizontal arrangement and equipment locations.
Elevation Drawing
An elevation provides a vertical view of the system.
It helps communicate height and vertical relationships.
Isometric Drawing
An isometric combines three-dimensional information into a two-dimensional representation.
This allows the user to visualize:
- Horizontal routing
- Vertical routing
- Changes in direction
- Elevation
- Connections
- Component arrangement
For piping fabrication and installation, this can be significantly more practical than relying on separate plan and elevation views alone.
Common Symbols and Information Found on Piping ISOs
While drawing standards vary between projects, inspectors should become familiar with common representations for:
- Pipe
- Elbows
- Tees
- Reducers
- Flanges
- Valves
- Welds
- Branch connections
- Supports
- Equipment connections
- Insulation
- Flow direction
- Dimensions
- Elevations
- Coordinates
- Line numbers
- Spool numbers
The exact symbols and conventions should always be interpreted according to the project’s approved drawing standards and legend.
How to Read a Piping Isometric Drawing
For someone learning how to read piping ISOs, the following approach can be useful.
Step 1: Identify the Line Number
Start by identifying the piping line number and related service information.
This helps establish which piping system you are looking at.
Step 2: Review the Drawing Title and Revision
Check the drawing number, title, revision, and status.
Always ensure you are working from the current approved revision.
Using an obsolete drawing can result in fabrication or inspection errors.
Step 3: Identify the Start and End Points
Determine where the piping begins and where it terminates.
Look for connections to:
- Equipment
- Valves
- Flanges
- Other piping
- Battery limits
Step 4: Follow the Pipe Routing
Trace the piping from one end to the other.
Follow changes in direction, branches, elevations, and connections.
Step 5: Identify Components
Locate:
- Valves
- Fittings
- Flanges
- Branch connections
- Supports
- Equipment connections
Step 6: Review Dimensions and Elevations
Check the dimensional information carefully.
This is especially important during fabrication and field installation.
Step 7: Review Weld Identification
Identify weld numbers and determine which inspection or NDT requirements are associated with those welds.
Step 8: Check Material and Specification Information
Review the applicable material specification, piping class, and component requirements.
Step 9: Compare With Other Project Documents
Do not rely on the ISO alone.
Depending on the inspection scope, you may also need:
- P&IDs
- Approved drawings
- Isometric revisions
- Piping specifications
- Welding procedures
- Inspection and Test Plans (ITPs)
- Weld maps
- Material certificates
- NDT procedures
- Client specifications
Common Mistakes When Reading Piping Isometrics
New inspectors and construction personnel can make several common mistakes when reviewing piping drawings.
Using an Old Revision
Always confirm the current revision before starting work.
Confusing Drawing Symbols
Do not assume every project uses identical symbols or conventions.
Review the drawing legend and project standards.
Ignoring Elevations
A piping system can appear correct horizontally but still be incorrectly installed if the elevation is wrong.
Missing Weld Identification
Weld numbers should be carefully tracked because they may connect the physical weld to multiple quality records.
Not Checking the P&ID
The ISO provides detailed physical information, but the P&ID provides important process information.
Both may be necessary to fully understand the system.
Assuming the Drawing Is the Only Requirement
Construction and inspection must also consider applicable codes, specifications, approved procedures, client requirements, and project documentation.
Why Isometric Drawing Knowledge Matters for Inspectors
A strong understanding of piping isometrics can improve an inspector’s ability to perform effective inspections.
For a QA/QC or welding inspector, the ability to interpret an ISO can help with:
- Weld identification
- Weld traceability
- Material verification
- Dimensional inspection
- Piping configuration checks
- Component verification
- NDT coordination
- Inspection reporting
- Punch-list activities
- Construction quality control
It also makes communication with engineers, fabricators, pipefitters, project managers, and construction teams much easier.
Piping Isometrics in Oil & Gas and Industrial Projects
Piping isometric drawings are widely used across many industries.
Oil & Gas
Piping systems are used for production, processing, transportation, storage, and utilities.
LNG
Large LNG facilities contain extensive piping systems connecting process equipment, storage systems, utilities, and loading infrastructure.
Petrochemical
Complex process systems require detailed piping design and fabrication documentation.
Power Generation
Piping is used for steam, water, fuel, cooling, and other utility systems.
Mining
Processing plants contain extensive slurry, water, chemical, air, and process piping.
Manufacturing
Industrial manufacturing facilities use piping for process fluids, gases, steam, compressed air, and utilities.
The Importance of Drawing Revision Control
Revision control is an important part of quality management.
A piping ISO can change during a project because of:
- Engineering changes
- Field modifications
- Design corrections
- Client requests
- Material changes
- Routing changes
- Equipment changes
Inspectors should confirm that the drawing they are using is the current approved revision.
Where field conditions differ from the drawing, the appropriate project process should be followed rather than simply modifying the installation without authorization.
Final Thoughts
Piping isometric drawings are an essential communication tool between engineering, fabrication, construction, inspection, and commissioning teams.
For inspectors, learning how to read an ISO provides a stronger understanding of the physical piping system and helps with weld identification, material verification, dimensional inspection, NDT coordination, and quality documentation.
The most important concept to remember is:
A P&ID helps you understand the process and system relationships, while a piping isometric helps you understand how the piping is physically fabricated and installed.
Developing the ability to read both documents is an important skill for anyone working in QA/QC, welding inspection, NDT, piping fabrication, construction, engineering, or commissioning.
At Engrity Group, we support industrial and construction projects across Canada through professional QA/QC, welding inspection, NDT, engineering, and related inspection services.
Follow Engrity Group for more educational resources covering NDT, welding inspection, QA/QC, engineering drawings, piping, codes and standards, and careers in the inspection industry.
Engrity Group
Building Confidence Through Quality and Compliance.
Experience the Difference
Contact
Phone
+1 (780) 800-6297
info@engrity.com
Address:
201-9403 63 Ave NW, Edmonton, AB T6E 0G2